The Short Answer
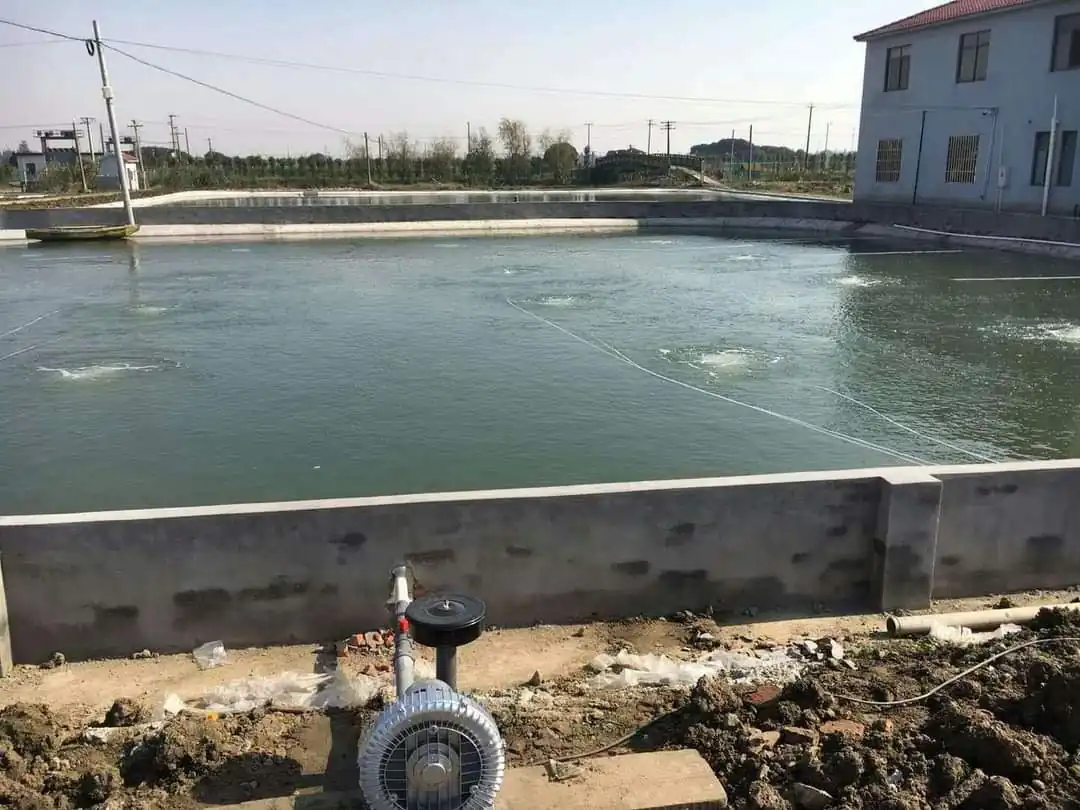
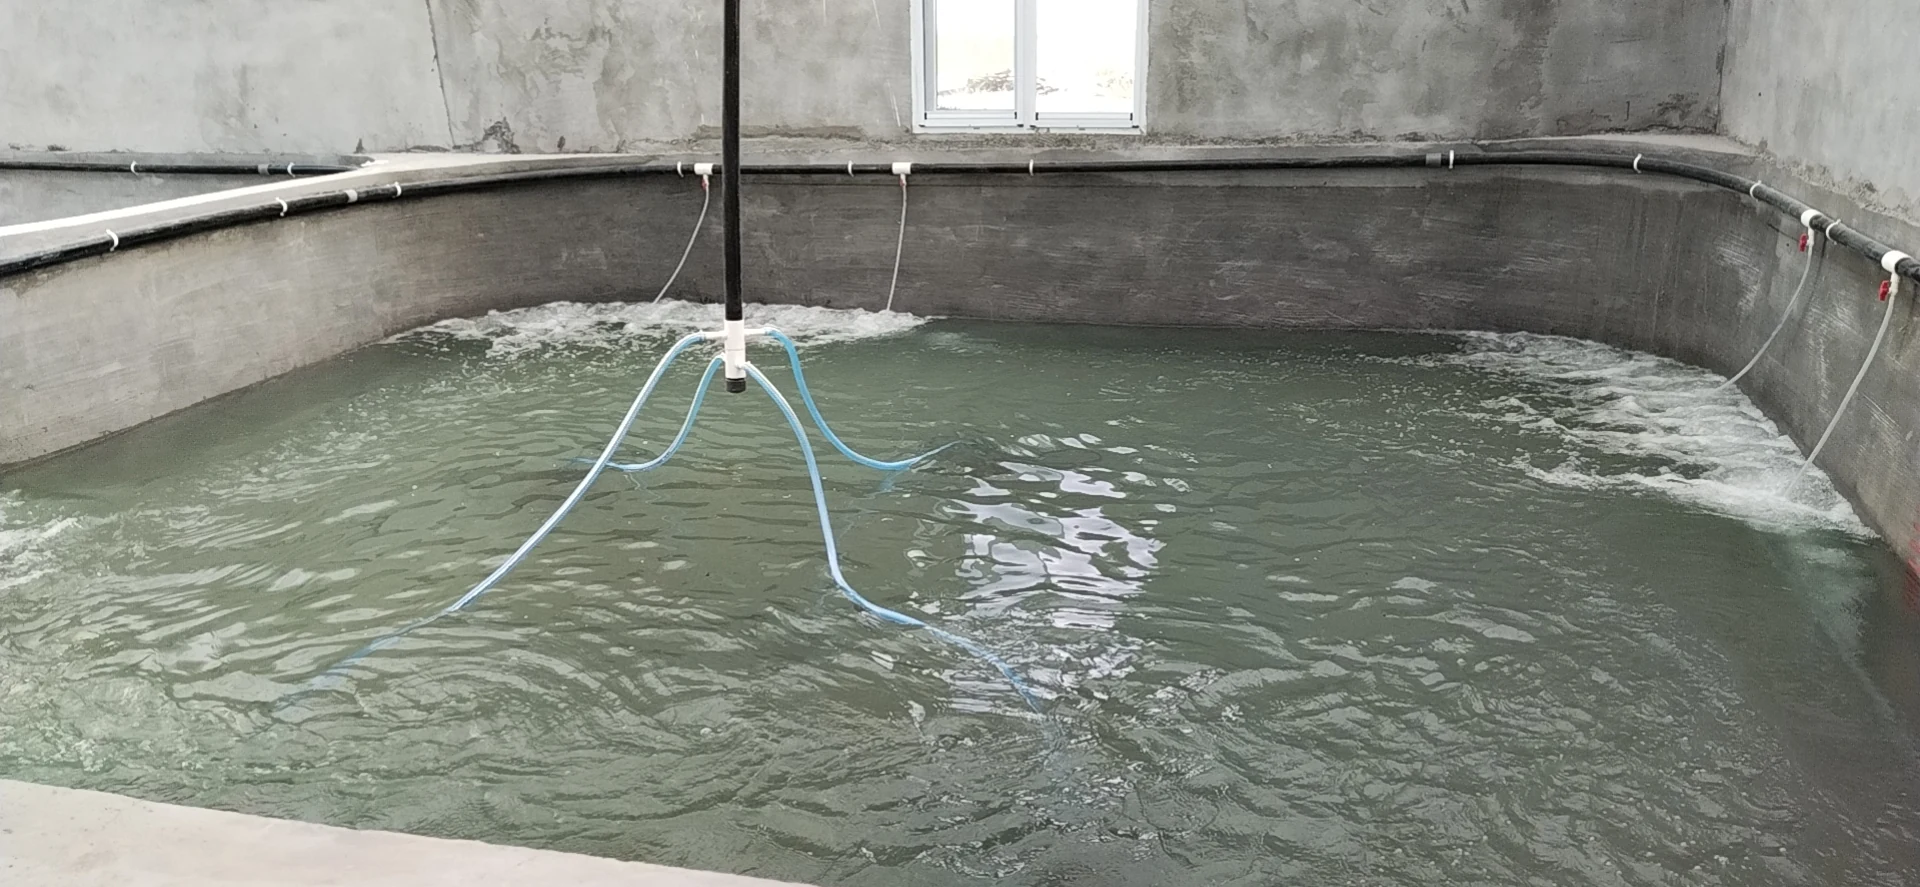
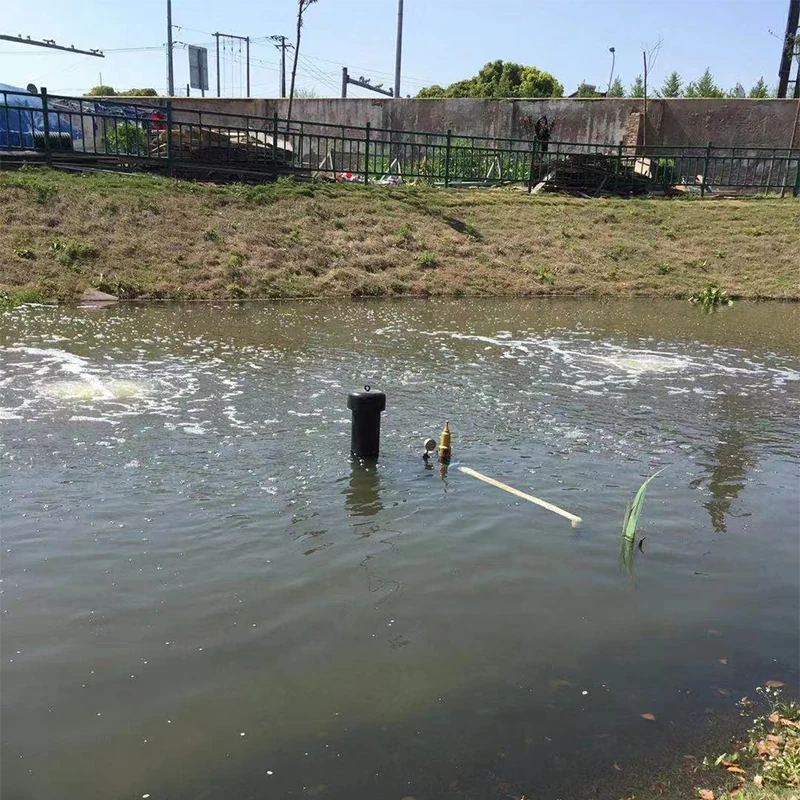
A bottom aeration system has four parts — blower → main pipe → distribution manifold → microporous tubing on the pond bottom — and installation takes one day for most ponds. The three rules that decide success: place tubing 10–20 cm above the bottom so bubbles lift bottom water, run lines 3–5 m apart for even coverage, and size the blower to the total tubing length (about 1 kW per 100–150 m). Get those right, and the system works from day one; get them wrong, and no amount of running time will fix uneven oxygen.
Before You Start: The 10-Minute Planning Check
| Item | What to decide | Rule of thumb |
|---|---|---|
| Pond area | Tubing length | 30–50 m (1–3 mu) / 50–80 m (3–5 mu) / 80–150 m (5–10 mu) |
| Depth | Mounting height | 1.5–2 m ideal; tubing 10–20 cm off bottom |
| Density | Blower capacity | 1 kW per 100–150 m of tubing |
| Power supply | Blower placement | Dry, ventilated shelter near pond, within 20 m of manifold |
| Water type | Tube choice | Standard tube for fresh; saltwater-rated for marine shrimp |
Tools needed: PVC cutter or saw, glue/cement for pipe joints, rope or weights for tubing, valve wrench, tape measure. Most farms already have these.
Step 1: Position the Blower
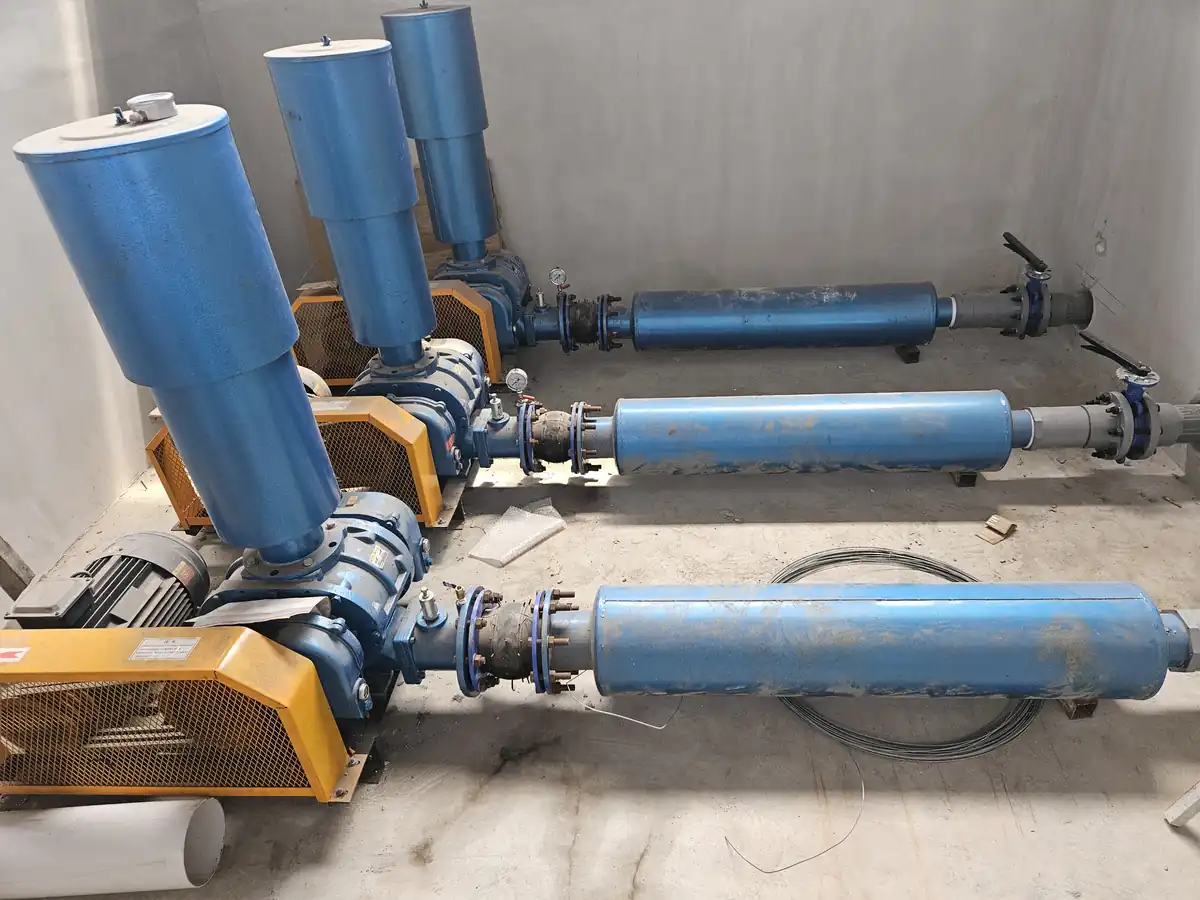
1. Place the blower on a level, dry surface in a ventilated shelter (sun and rain kill motors early).
2. Leave 0.5 m clearance around it for airflow and maintenance access.
3. If the blower has an intake filter, make sure it faces clean air — dust clogs filters and drops air output.
4. Wire it through a residual current device (RCD) — required for any equipment near water.
Step 2: Run the Main Line
1. From the blower outlet, run a main pipe (PVC or the blower's supplied fitting) to the pond edge.
2. Keep the main line above water level where possible, or bury it below frost/plow depth.
3. Install an isolation valve at the manifold — you will need it to balance lines and for maintenance.
Step 3: Build the Distribution Manifold
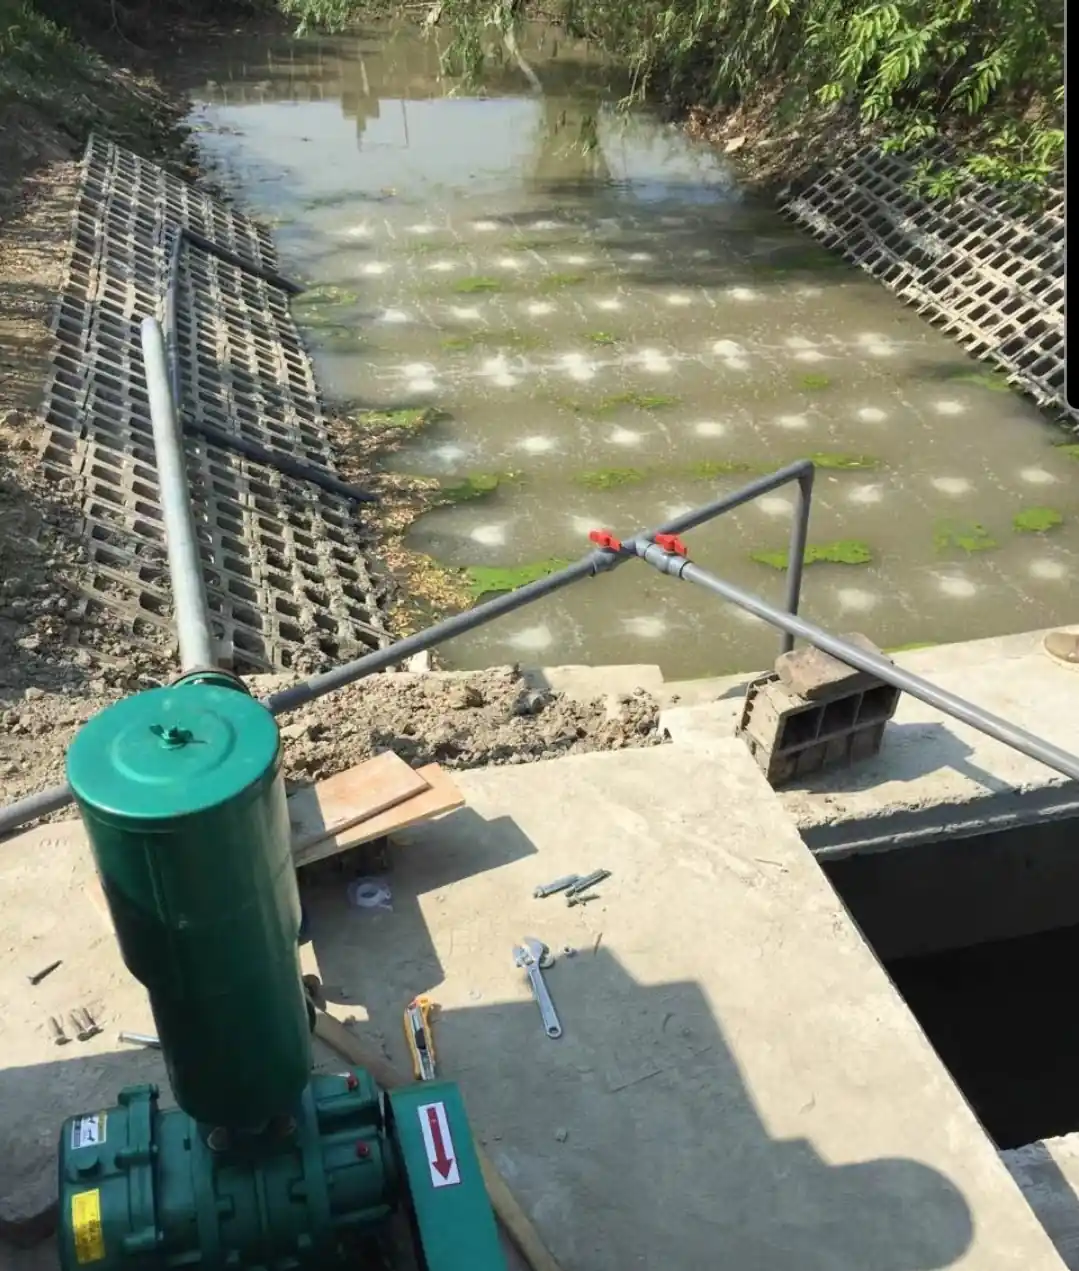
1. The manifold splits main-line air into the parallel tubing lines.
2. Use equal-length branch pipes where possible — unequal lengths mean unequal airflow (the short branch steals air from the long one).
3. Add a small valve per branch if you want to fine-tune flow later (optional but recommended for multi-line ponds).
Step 4: Lay the Microporous Tubing
This step decides the whole system's performance:
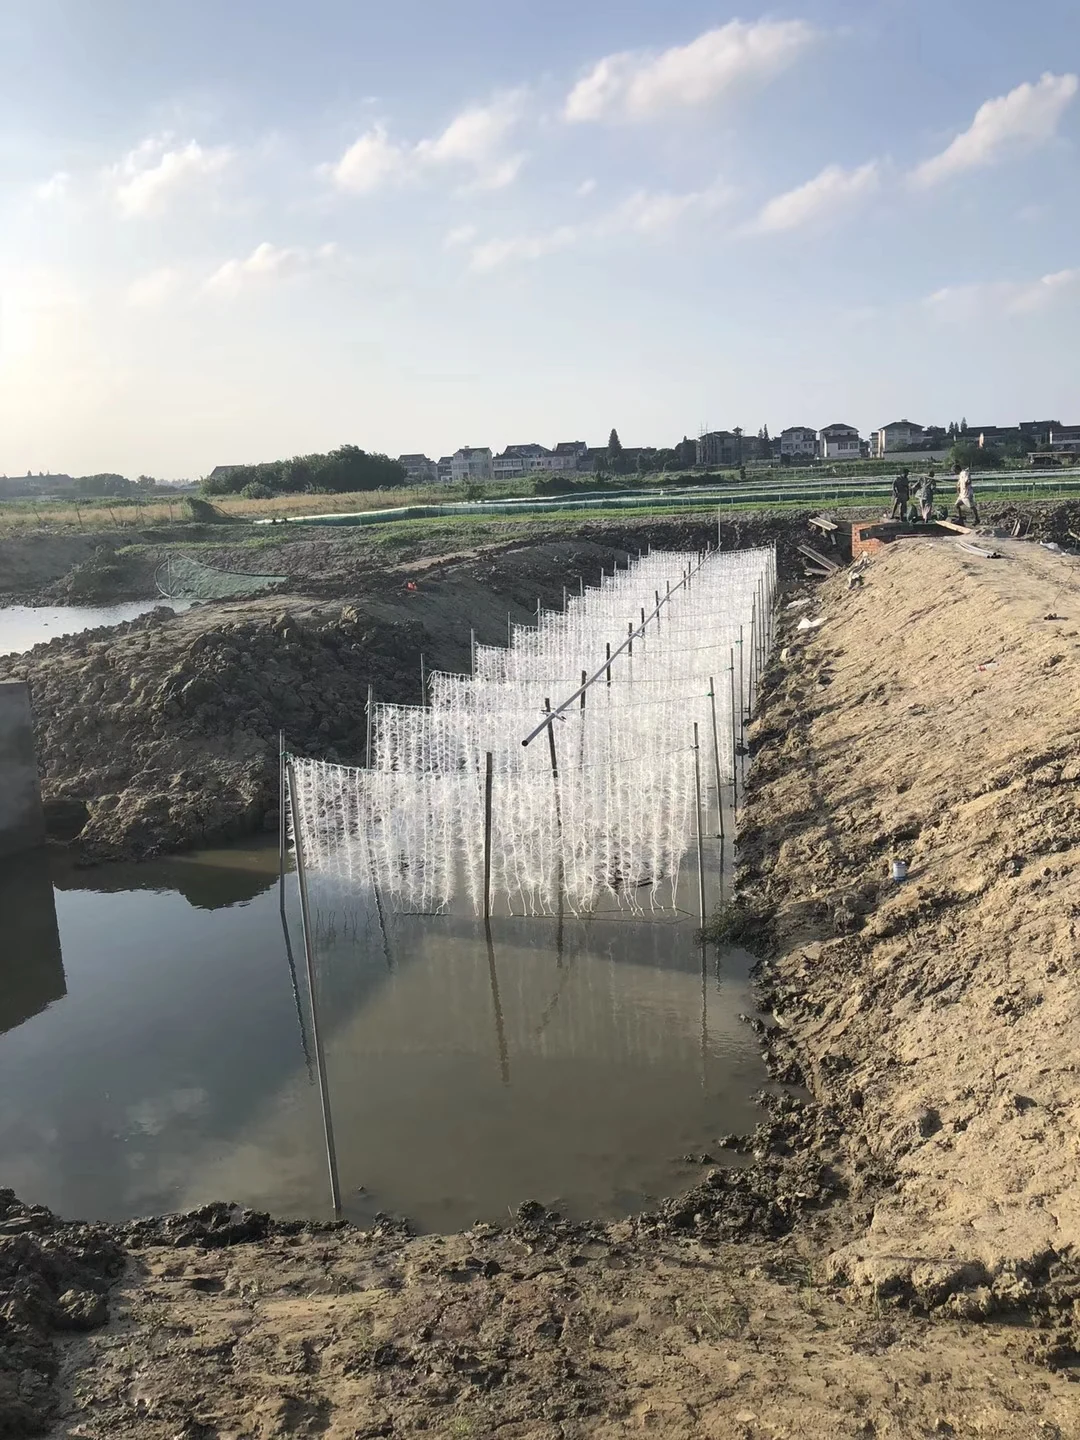
1. Run lines parallel, 3–5 m apart, covering the full pond.
2. Fix the tubing 10–20 cm above the bottom — use stakes/weights or the self-sinking tube type. On the bottom is wrong: bubbles need to lift water, not stir mud.
3. Anchor both ends securely; loose tube drifts and tangles.
4. Keep lines clear of the feed area and the deepest sludge pockets (sludge consumes the oxygen you are making).
Step 5: Connect and Test
1. Open the isolation valve, start the blower, and check every line for bubbles.
2. Uniform bubble streams along each line = good. Missing sections = clogged or damaged tube (replace).
3. Let it run 30 minutes, then measure dissolved oxygen at the surface and at 1 m depth — expect a rising trend.
4. Log the baseline readings; they are your reference for maintenance later.
The Sizing Quick Reference
| Pond size (mu) | Tubing length | Recommended blower |
|---|---|---|
| 1–3 | 30–50 m | ZXMSR small (0.5–1.5 kW) |
| 3–5 | 50–80 m | ZXMSR medium (1.5–2.2 kW) |
| 5–10 | 80–150 m | ZXMSR large (2.2–3.7 kW) |
1 mu ≈ 667 m². If in doubt, size up one step — a slightly larger blower throttled back uses less power than one running at full load all day.
Common Installation Mistakes (and Fixes)
1. Tubing flat on the bottom → bubbles stir up mud and oxygen transfer drops. Fix: raise 10–20 cm.
2. Lines too far apart (>5 m) → dead zones between lines. Fix: add lines or rearrange.
3. Blower undersized for tubing length → weak bubbles, low DO. Fix: upgrade blower or cut tubing.
4. Unequal branch lengths → one line gets most of the air. Fix: equalize branch lengths.
5. No isolation valve → can't balance or service lines. Fix: add a manifold valve.
6. Forgetting the RCD → safety hazard with water nearby. Fix: install immediately.
First-Week Commissioning
- Day 1–2: run 24 h, watch for bubble uniformity and leaks.
- Day 3–5: start normal aeration schedule (15–20 h/day in the growing season).
- Week 1: check DO at dawn and mid-afternoon — adjust run hours so the pre-dawn minimum stays above 3 mg/L (tilapia) or 4 mg/L (shrimp).
Frequently Asked Questions
Q: Can I install the system myself? A: Yes — one day with basic tools for most ponds. The critical parts are tubing height, line spacing and blower sizing, all covered above.
Q: How deep should the tubing be? A: 10–20 cm above the bottom, at 1.5–2 m water depth. Deeper ponds need stronger blowers (more pressure).
Q: How do I know my blower is big enough? A: Rule of thumb is 1 kW per 100–150 m of tubing. If bubbles are weak at the far end of the line, the blower is undersized or the line is too long.
Q: What about saltwater ponds? A: Use saltwater-rated tubing and rinse the system after harvest. Corrosion protection on the blower matters more in coastal farms.
Q: How long does the tubing last? A: With clean air and yearly cleaning, several seasons — see our maintenance guide for the full care schedule.
The Bottom Line
Installation is straightforward if you respect three numbers: 10–20 cm off the bottom, 3–5 m line spacing, 1 kW per 100–150 m. Plan the layout on paper first, install methodically, and commission with a DO meter — the result is a system that delivers even, energy-efficient oxygenation from the first day.
Zhongxin Machinery supplies the complete installation kit — blower, main pipe, manifold, microporous tubing and valves — plus a layout drawing sized to your pond. Send us your pond dimensions and density, and we will send back the parts list and layout.
Blower models and enclosure options are listed on our roots blower page.