Before installation
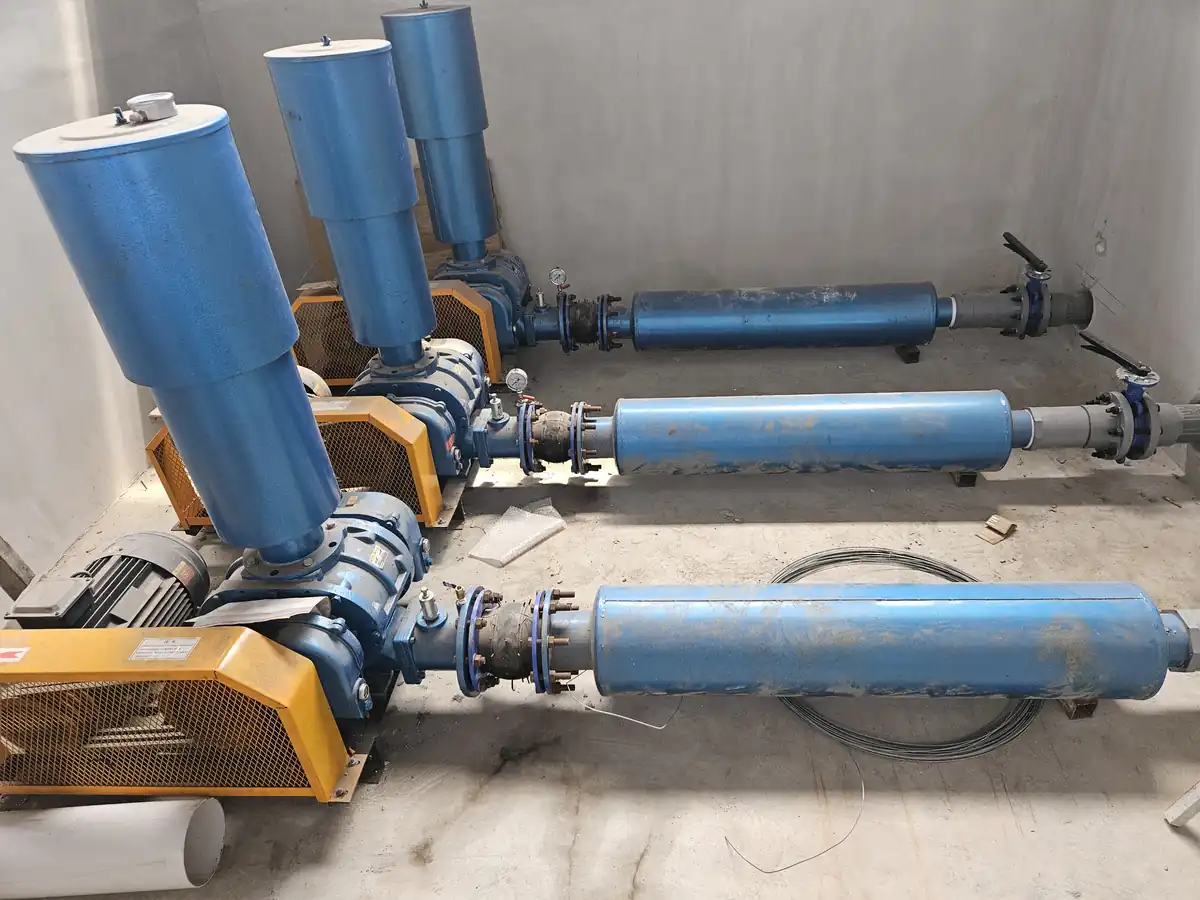
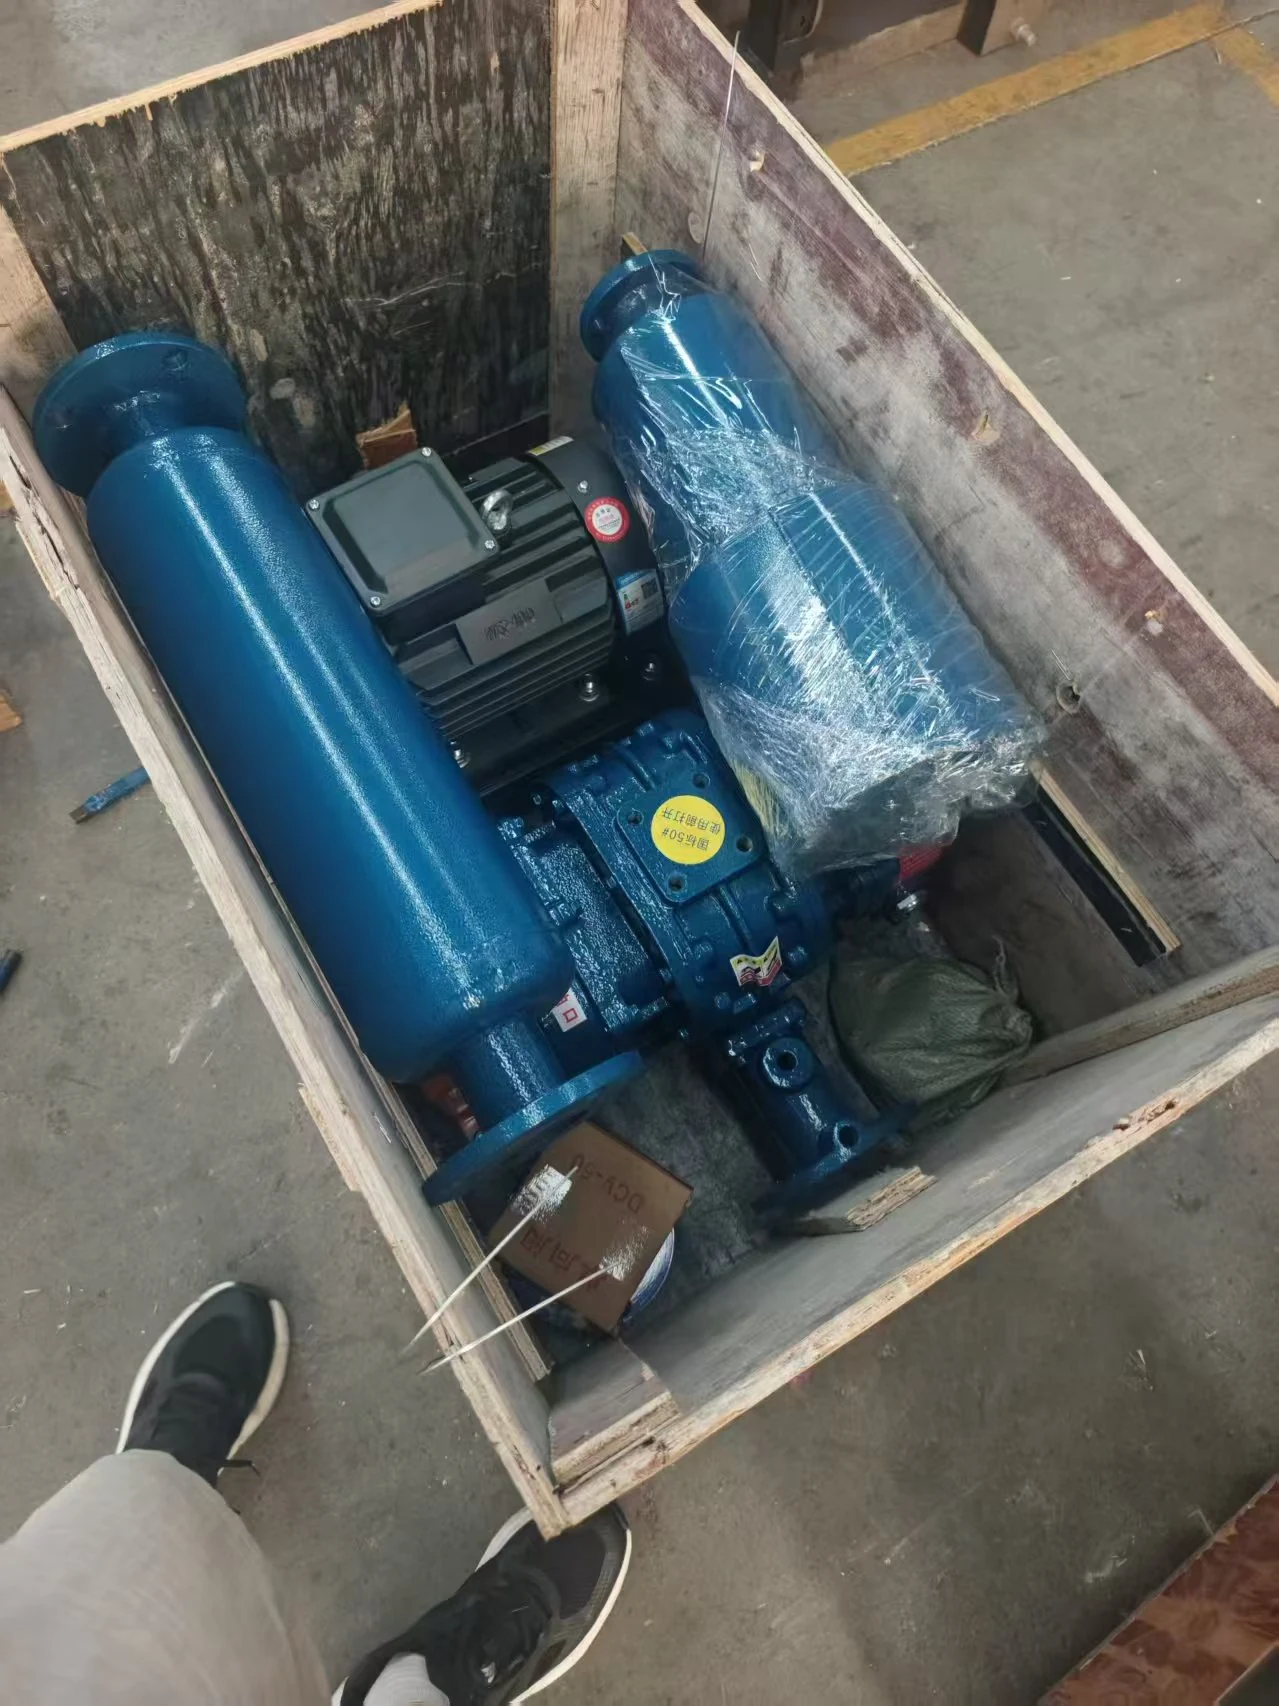
Check the nameplate on the submersible blower: model, outlet size, rated frequency, phase, voltage, current, pressure and air volume — and confirm they match your requirements. Inspect for transport damage, and in particular check that bolts and nuts have not worked loose. Verify that all accessories are present and correct in quantity. The blower must run in the direction marked on the unit. Use a power supply with adequate capacity — an undersized supply may fail to start the motor.
During installation
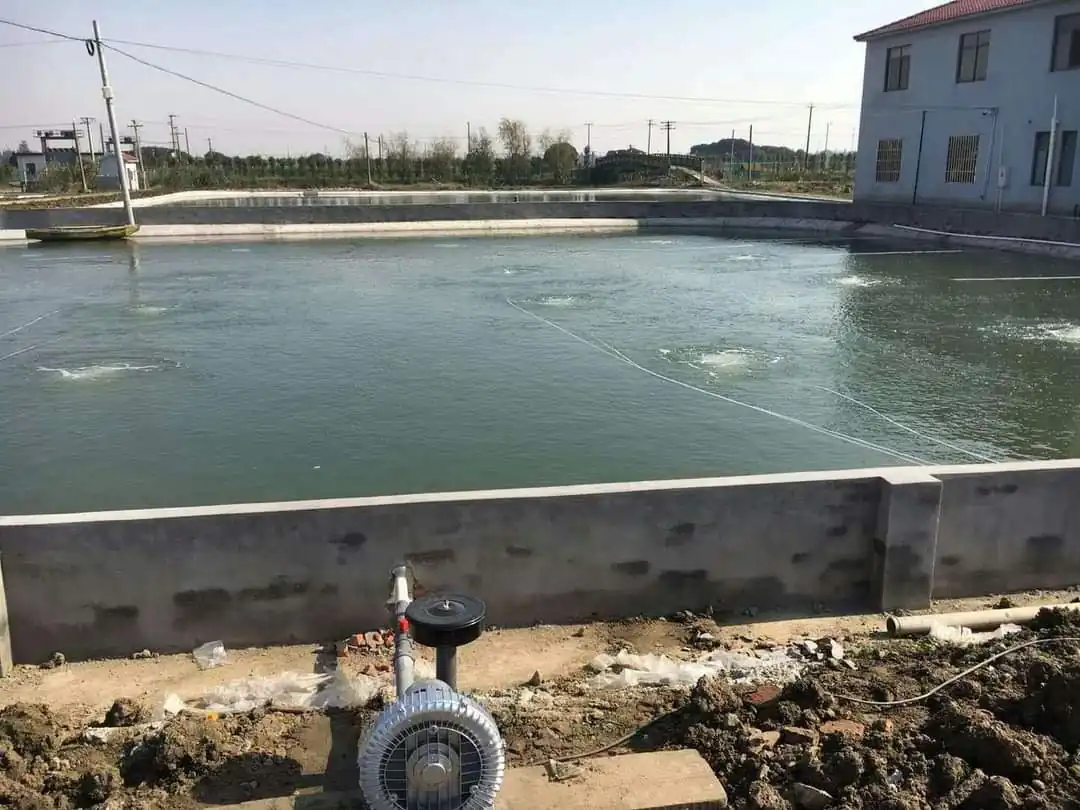
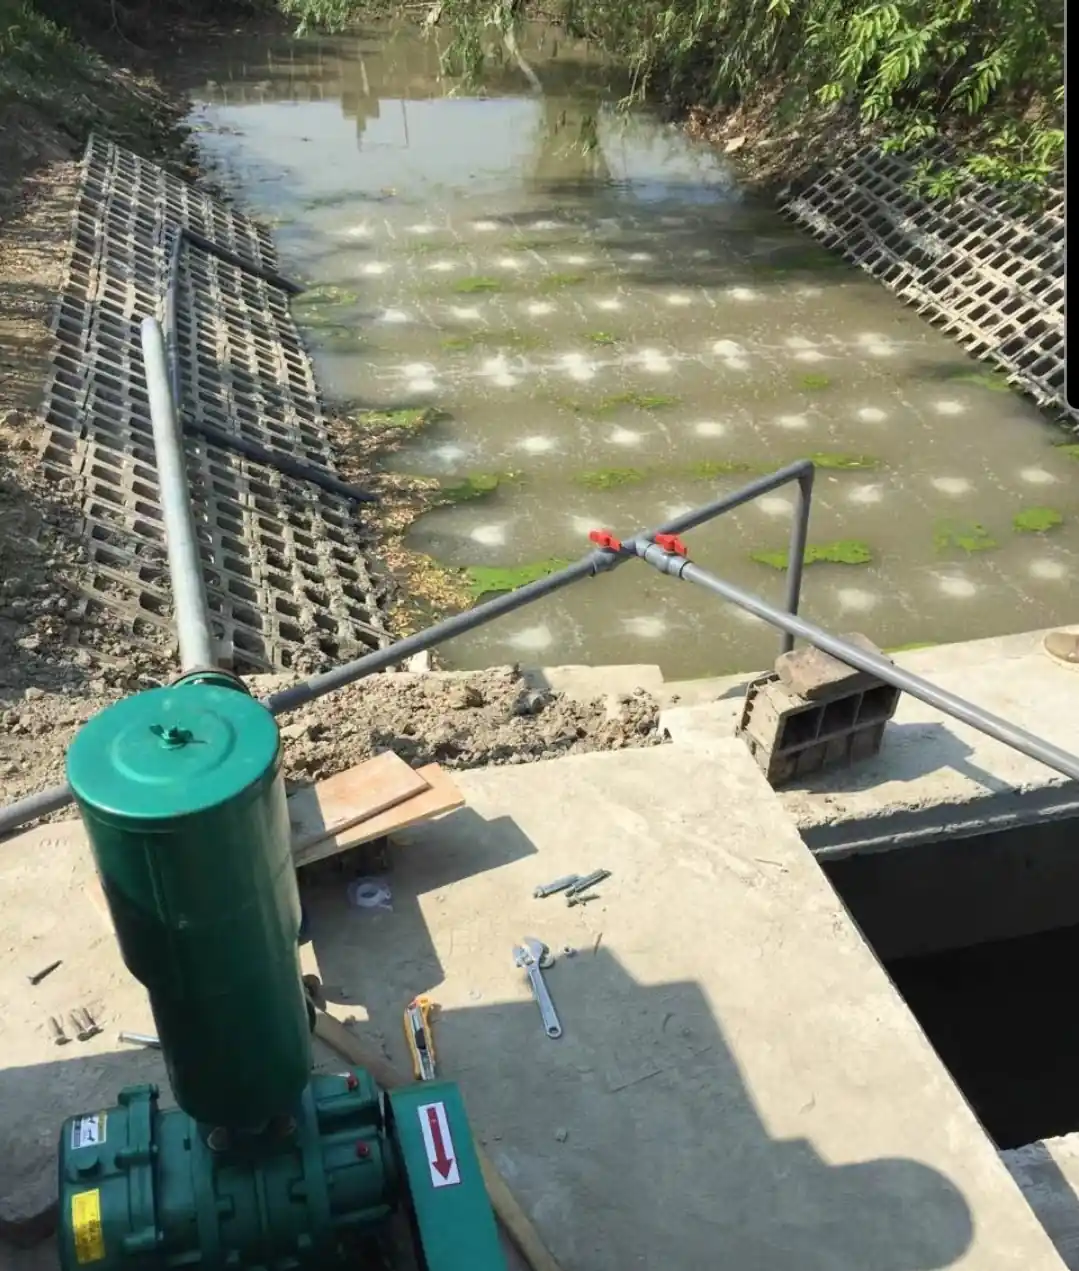
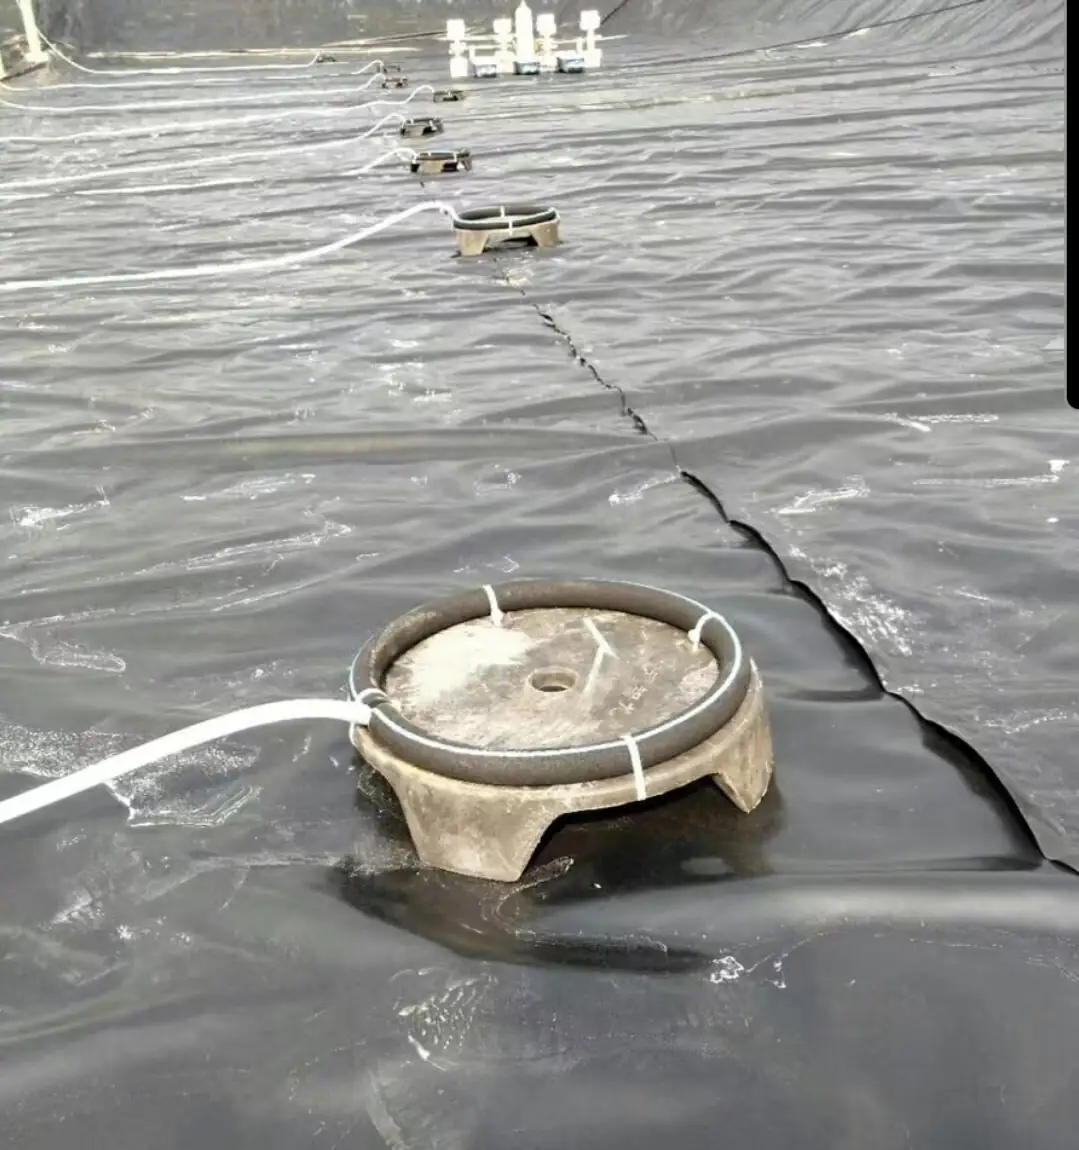
Confirm that the frequency and voltage of your supply match the nameplate rating. The rated voltage of a submersible blower must stay within ±10% of tolerance. Do not extend the cable arbitrarily — long extensions can cause voltage drop beyond tolerance. Never lift or move the blower by its cable, as this can crack the cable and cause insulation failure and electric leakage. Always connect a proper earth/ground wire. To prevent electric shock, install a residual current device (RCD). A no-fuse breaker is recommended to protect the blower and extend its service life. Do not bury the blower in sludge or sand — place it in clean, constantly circulating water. Use outlet piping of the same diameter as the blower outlet; smaller piping raises pressure loss, reduces air volume and increases current. Make sure water cannot seep into the blower at underwater pipe connections.
During operation
Switch on the power and confirm that the inlet silencer is drawing air. If the rotation direction is reversed, stop immediately and correct it. Keep the discharge pressure and motor current within the operating range — if either is exceeded, find the cause before continuing. Watch for abnormal vibration or noise. If the blower sits unused for a long period, the impeller can seize — run it for 30 minutes every week, or daily in damp locations.
Additional note
Do not let water or foreign objects enter the blower during installation.