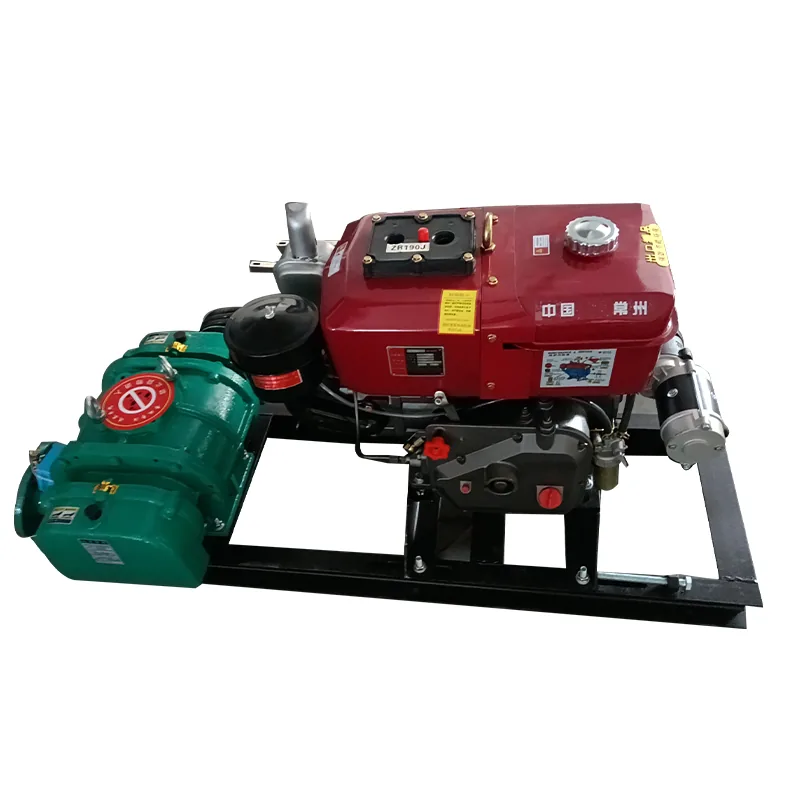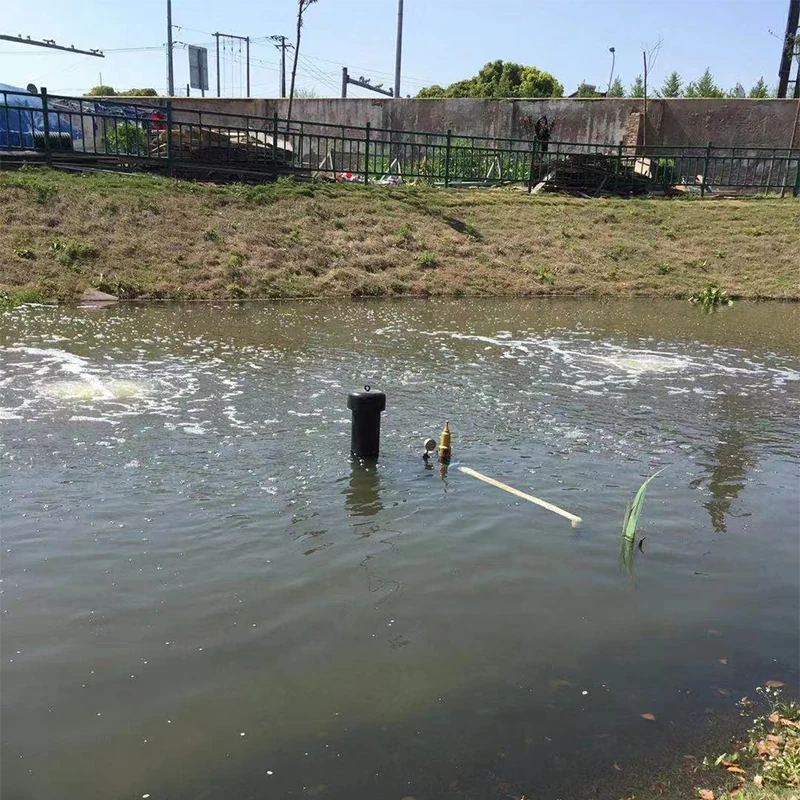
Microporous aeration is the newest family of pond oxygenation after paddlewheel, impeller and fountain aerators, and it is now widely used in aquaculture, wastewater treatment and landscape-water management. The installation is easy and safe, and sites without mains power can drive the blower with a diesel engine. This guide focuses on the two proven installation methods and the operating schedule that keeps dissolved oxygen in the 6-8 mg/L sweet spot.
> For the theory behind microporous aeration and the pond prerequisites before you install, see how microporous pond aeration works and pond and equipment requirements.
System components
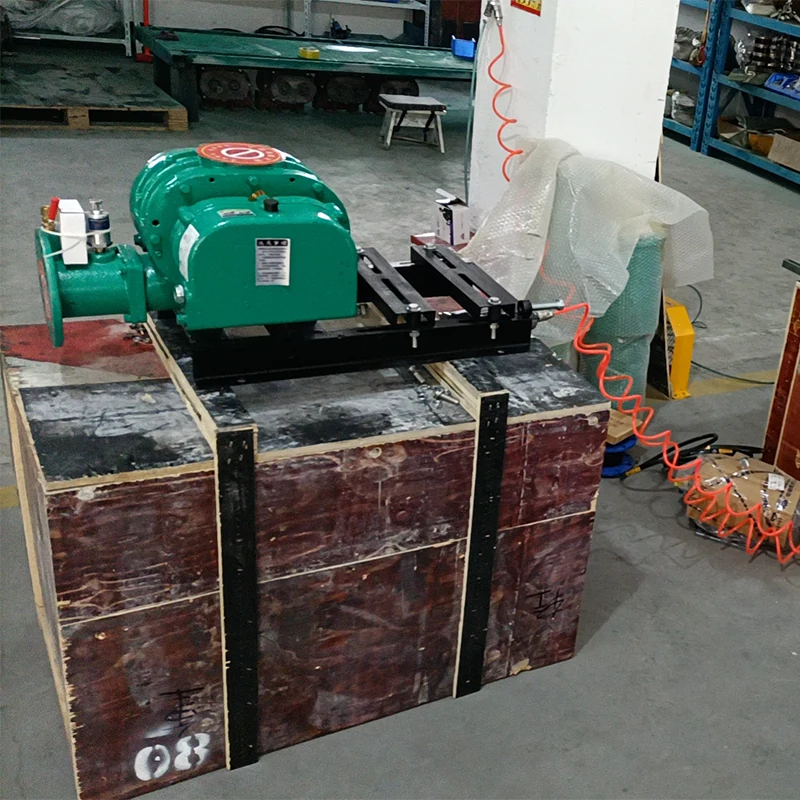
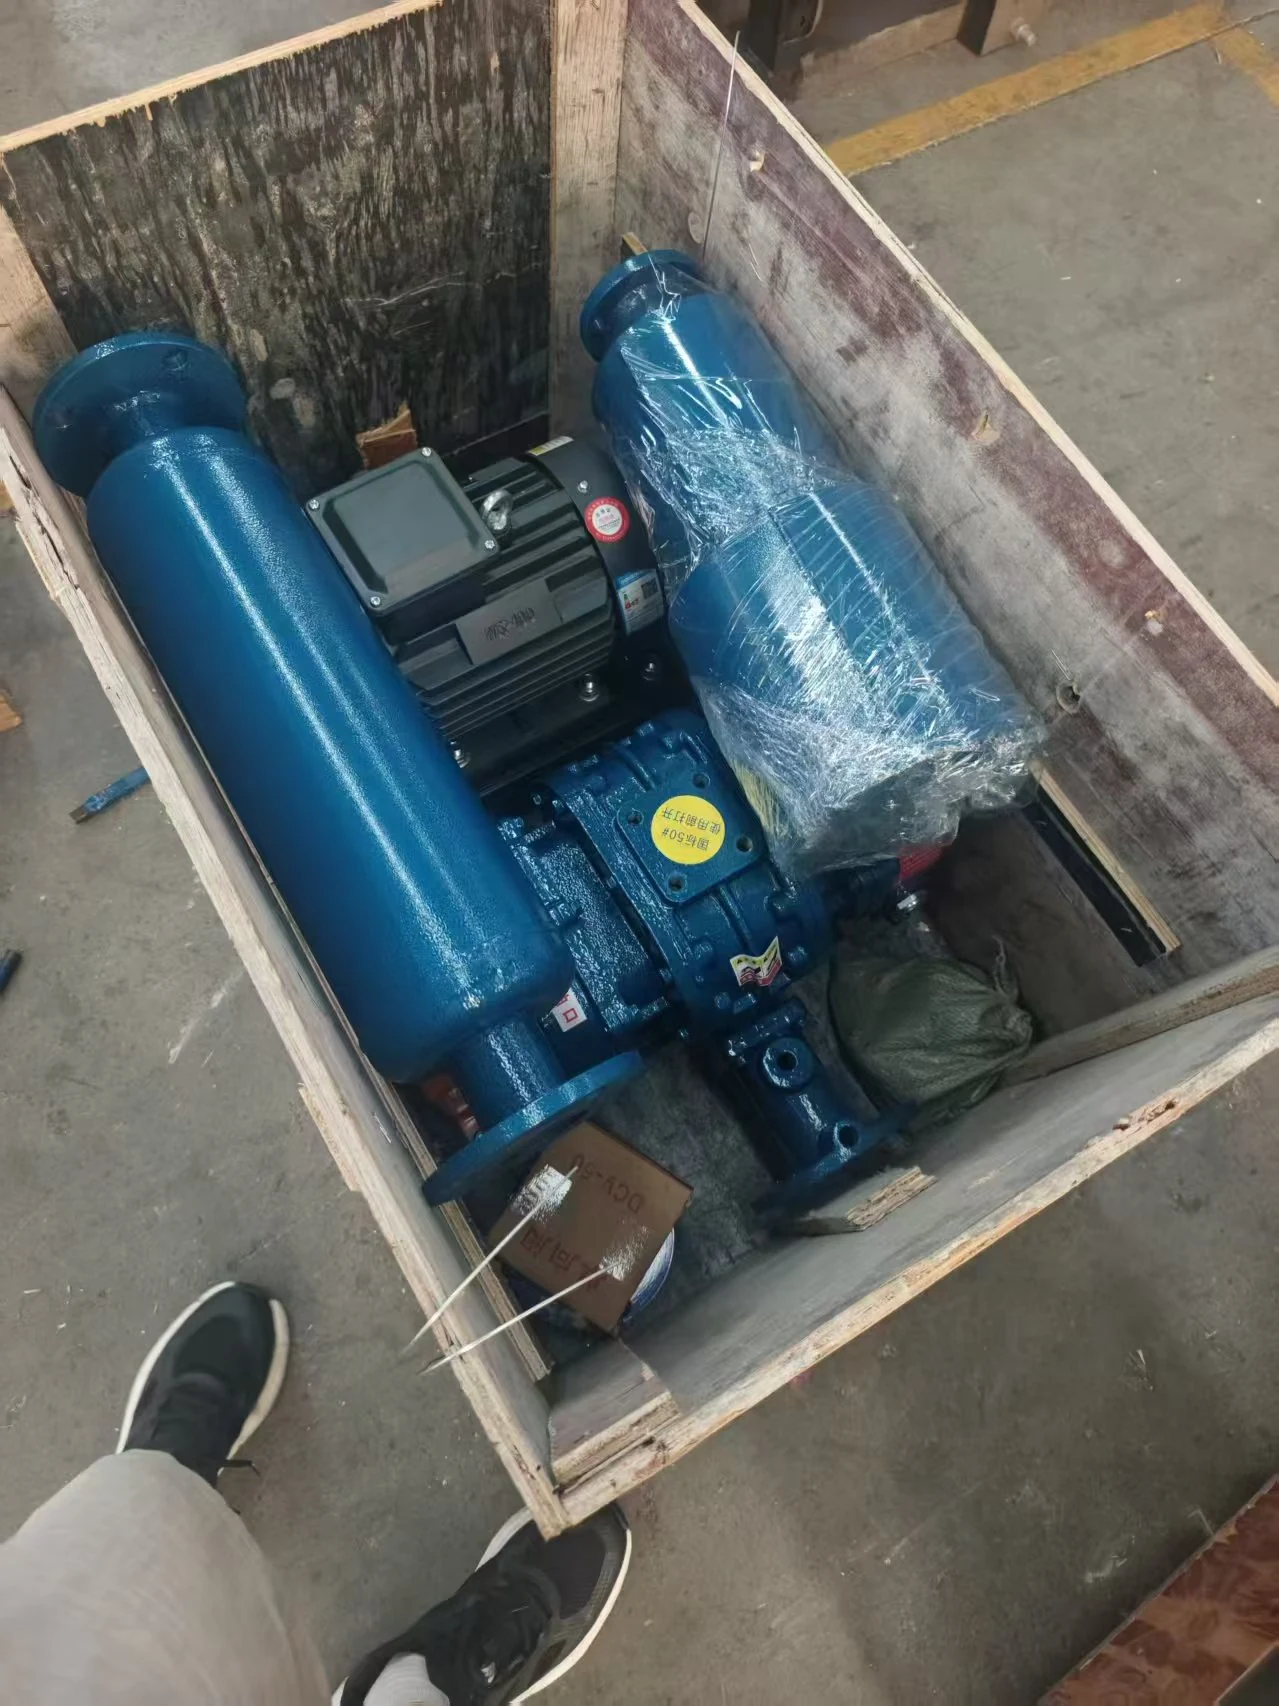
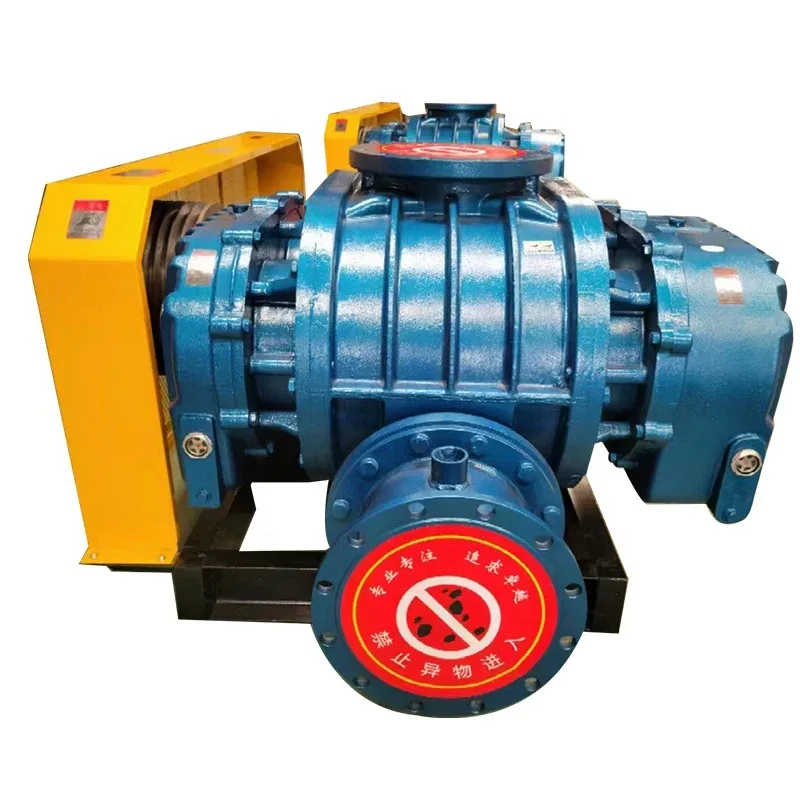
A microporous aeration set consists of: the prime mover (electric motor matched to the blower), a roots blower (typically running at about 1,400 rpm), a buffer/air receiver made of PVC pipe, branch pipes (PVC or rubber hose), and the microporous aeration tubes themselves. The drive belt connects the motor to the blower; the blower feeds the buffer tank, which feeds the main line, then the branches, then the aeration tubes.
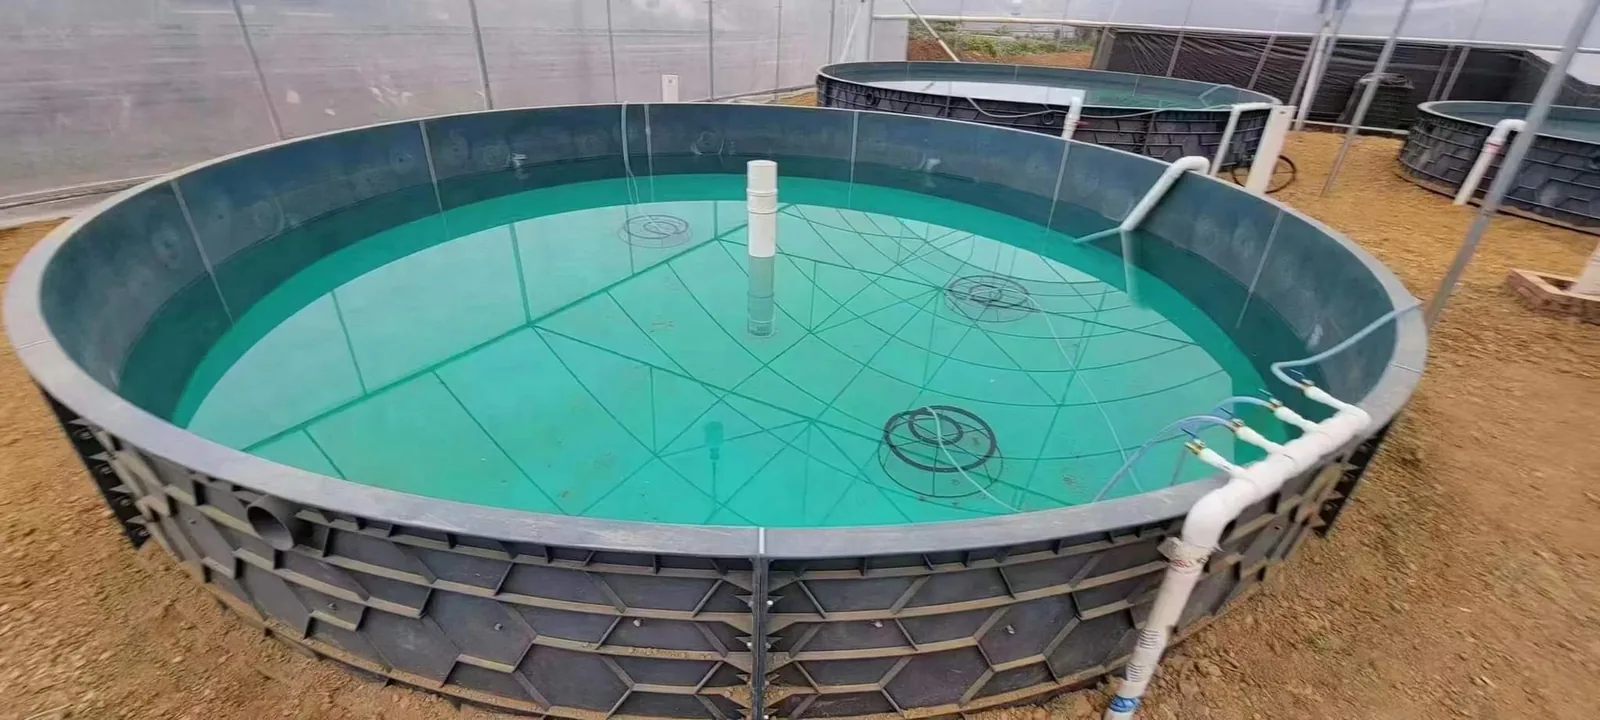
Installation method 1 — disc type
- Bend 4-6 mm steel rebar into circular disc frames.
- Fix the aeration tube onto each frame; total tube length per frame is 15-20 m.
- Install 45-60 discs per hectare.
- Secure the frames to the pond bottom, 10-15 cm above the mud line.
- Blower power allocation: 1.5-2.25 kW per hectare.
Installation method 2 — strip type
- Lay the aeration tube in strips with a total tube length of about 60 m per system.
- Space the strips about 10 m apart.
- Keep the elevation difference between strips under 10 cm.
- Fix the strips to the pond bottom, 10-15 cm above the mud line.
- Blower power allocation: 1.5 kW per hectare.
When to run the blower — the seasonal schedule
Oxygen demand follows water temperature and weather, so the schedule changes with the season:
- April-May: on overcast or rainy days, switch on in the middle of the night (the lowest-oxygen window).
- June-October: run 2-3 hours in the afternoon and 2-3 hours around sunrise and sunset.
- Persistent rain or low-pressure weather: start at 21:00-22:00 and run through until noon the next day.
- Late grow-out period: aerate frequently — oxygen demand is highest when the biomass is heaviest.
- Where a DO meter is available, adjust the schedule to measured values and hold dissolved oxygen at 6-8 mg/L.
The logic behind these windows is simple: aerate before oxygen drops, not after — see how to aerate smart: three rules that cut power bills and raise yield for the timing principles this schedule follows.
What one unit covers
A 2.2 kW microporous aeration set keeps 0.53-1.0 ha of intensive pond, or 1,000-2,000 m² of cage-farm area, within safe oxygen levels for emergency aeration — at an energy cost below one quarter of a conventional aerator.
Why microporous aeration performs
Microbubbles give an enormous air-water contact area, rise slowly and stay in contact longer, so oxygen transfer efficiency is very high. This restores self-purification of the pond: organic sludge, scattered feed residue and fish waste break down faster, the microbial and algal balance recovers, and the water "lives" again. The unit sits on land or on the raft — nothing electrical goes into the water, so there is no leakage risk to stock or staff.
Choosing between disc and strip layouts, or sizing a system for a new pond? Send us your pond area, depth and stocking density and we will propose the configuration.
Frequently asked questions
Q: Should I choose the disc type or the strip type? A: Both are proven. Disc frames give a compact, evenly distributed layout at 45-60 discs per hectare; strips suit a linear layout with about 60 m of tube per system spaced about 10 m apart.
Q: How many aeration discs do I need per hectare? A: 45-60 discs per hectare, with 15-20 m of tube on each frame.
Q: What blower power does the system need? A: Budget 1.5-2.25 kW per hectare for the disc layout and about 1.5 kW per hectare for the strip layout.
Q: How high above the pond bottom should the discs sit? A: Secure the frames 10-15 cm above the mud line.
Q: When should I run the blower in summer? A: From June to October, run 2-3 hours in the afternoon plus 2-3 hours around sunrise and sunset.
Q: What is the schedule during long spells of rain? A: Start at 21:00-22:00 and run through until noon the next day.
Q: What dissolved oxygen level should the schedule hold? A: Where a DO meter is available, adjust the schedule to measured values and hold dissolved oxygen at 6-8 mg/L.
Q: How much pond does one 2.2 kW unit cover? A: A 2.2 kW microporous aeration set keeps 0.53-1.0 ha of intensive pond, or 1,000-2,000 m² of cage-farm area, within safe oxygen levels for emergency aeration.
For the bottom-installation side of the same system - matching standard, pipe selection and the four-step laying procedure - see bottom microporous aeration: benefits and installation.