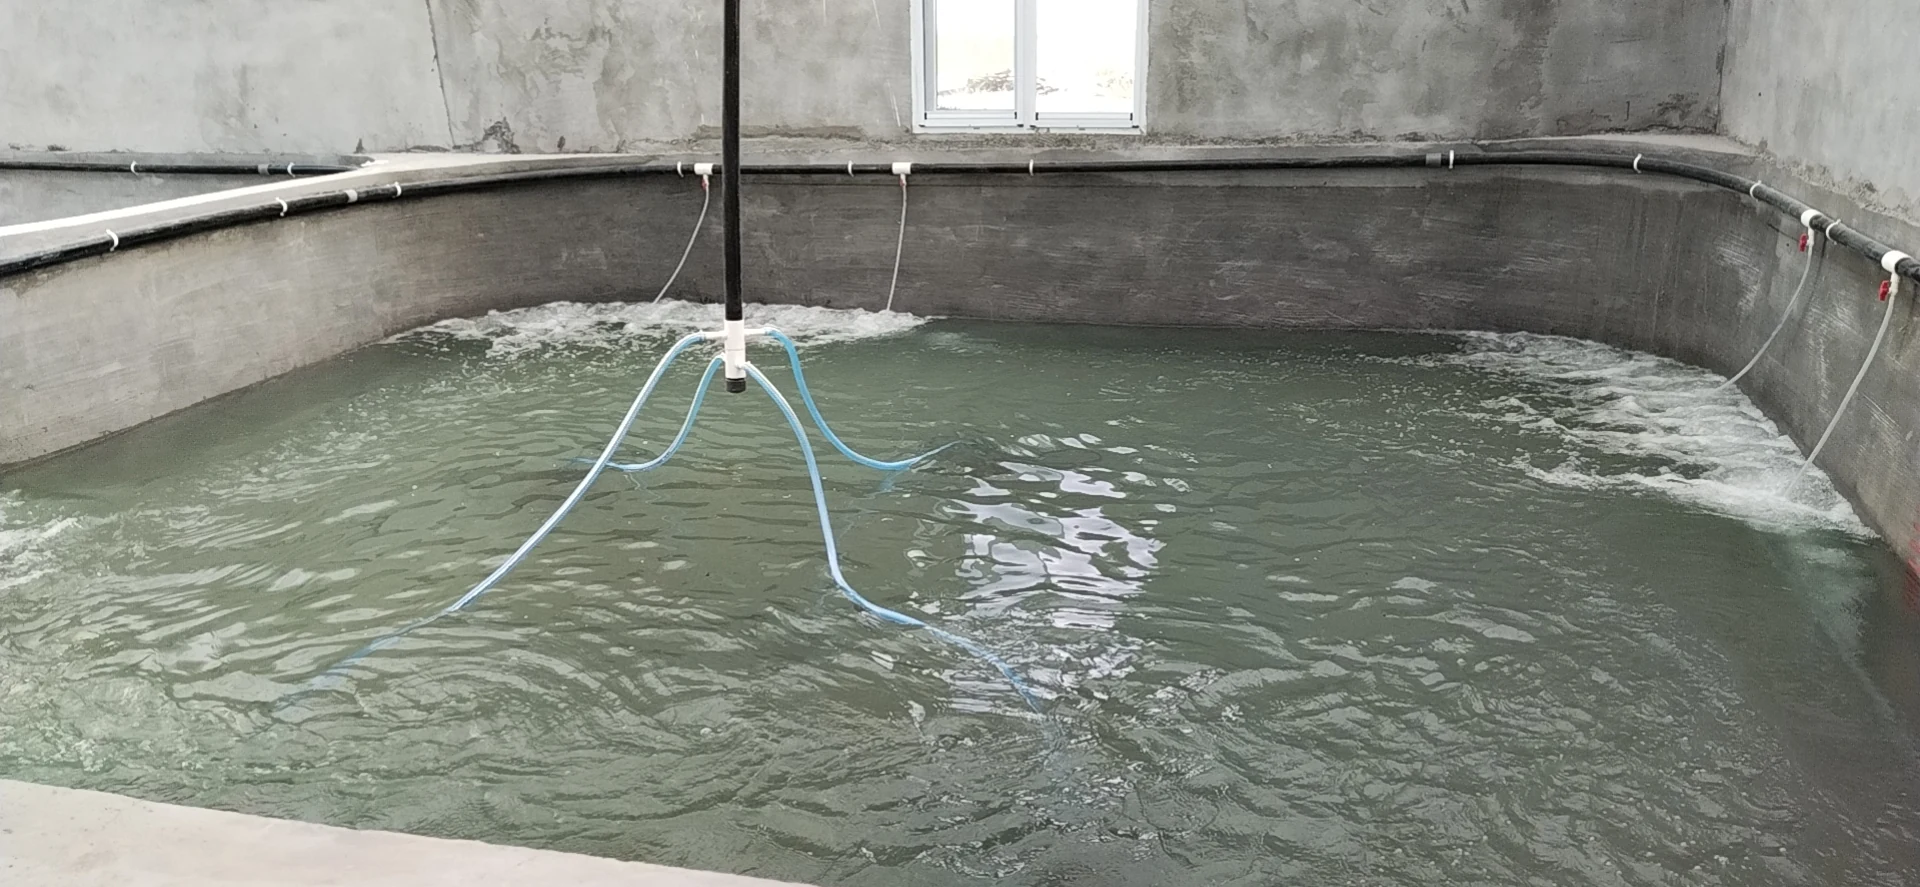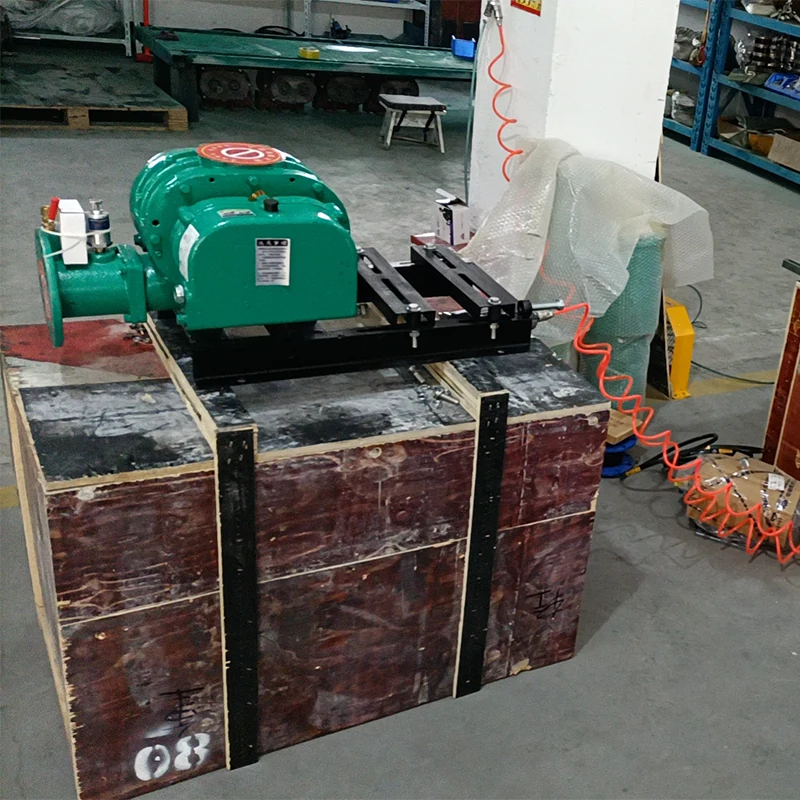
Three-lobe roots blowers are the usual air source for diffused aeration on shrimp and fish farms: positive-displacement machines that hold output against the back-pressure of deep water, and run with less pulsation than the older two-lobe design. This page covers what must be right before it runs — foundation, piping, start-up checks — and day-to-day operation. Choosing the machine is covered on our roots blower page.
Why three-lobe blowers for pond aeration
Three-lobe rotors are what most aeration installations standardise on, for three practical reasons.
Pressure holds steady as the water gets deeper. A pond aerator pushes air all the way to the bottom, and deeper water means more back-pressure. Because a roots blower is positive displacement, flow barely changes as pressure rises: the airflow you sized for is the airflow that arrives at the diffusers.
Output is smooth rather than pulsed. Three-lobe rotors trap and release air more often per revolution than two-lobe rotors, cutting the pulsation that otherwise shows up as noise and vibration in the pipework — which matters when the blower room sits near a house, and reduces the load on the pipe supports.
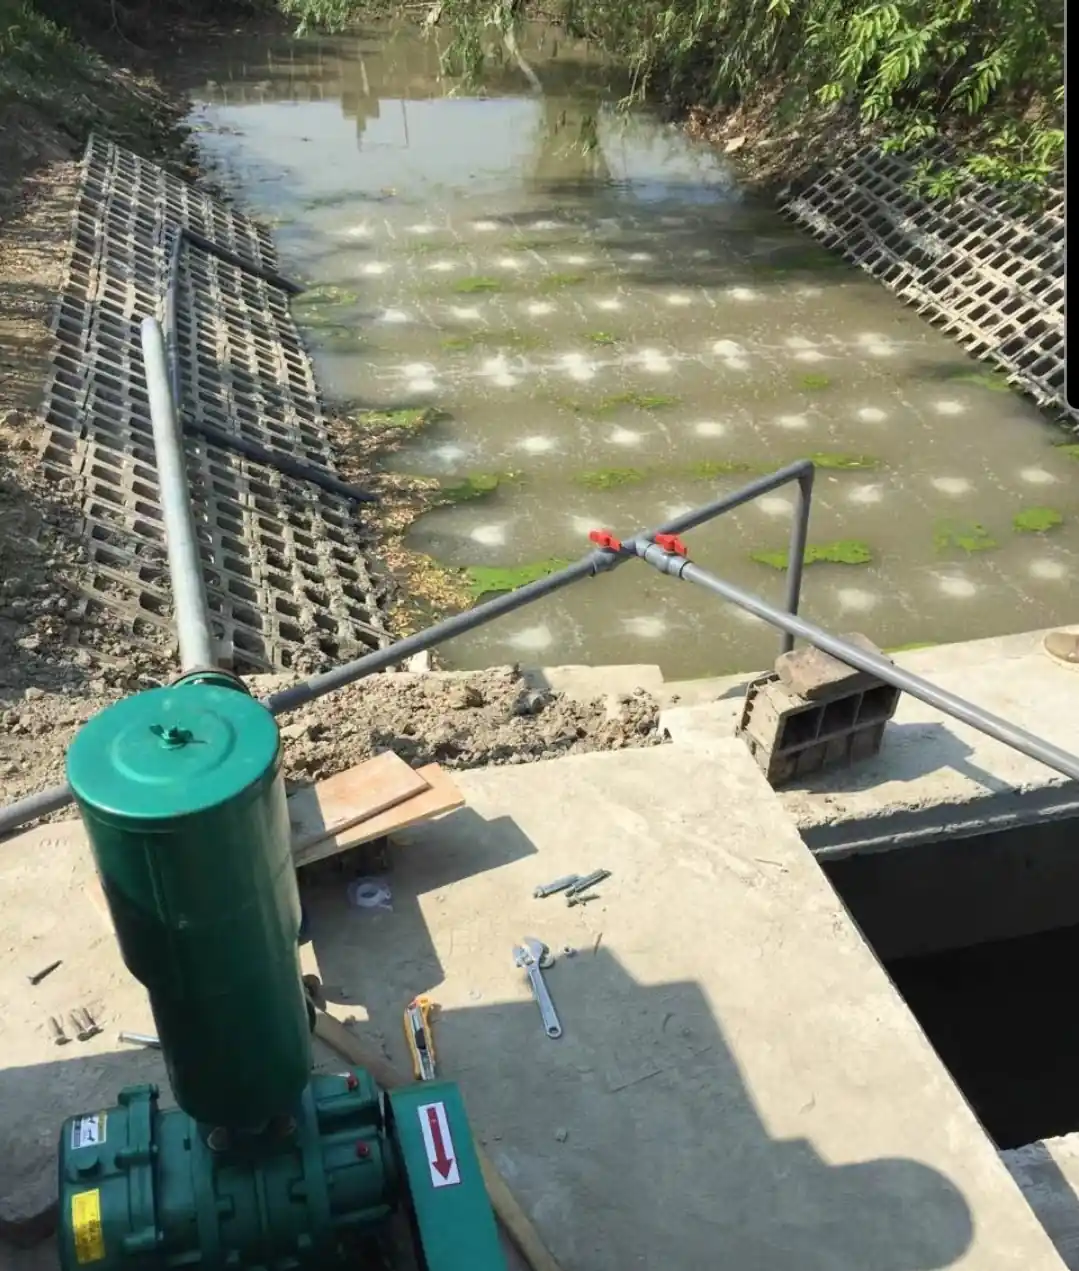
It suits a diffused grid. Because the air arrives at pressure it can be split at a manifold and fed to a microporous aeration system of tubes or discs across the pond floor — the layout that puts oxygen where the demand is.
What three-lobe rotors do not do is tolerate a blocked line: a positive-displacement machine keeps building pressure against a closed valve or a sludge-filled air line, which is why the checks below are not optional.
Installation requirements for the roots blower
1. The foundation must be firm with a level surface, raised 10–25 cm above the ground.
2. Leave enough space around the blower for inspection, maintenance and dismantling.
3. The working ambient temperature must not exceed 40 °C; if it does, take measures to cool the area, otherwise the blower's service life will be shortened.
4. When installed outdoors, provide a rain shelter.
Piping requirements
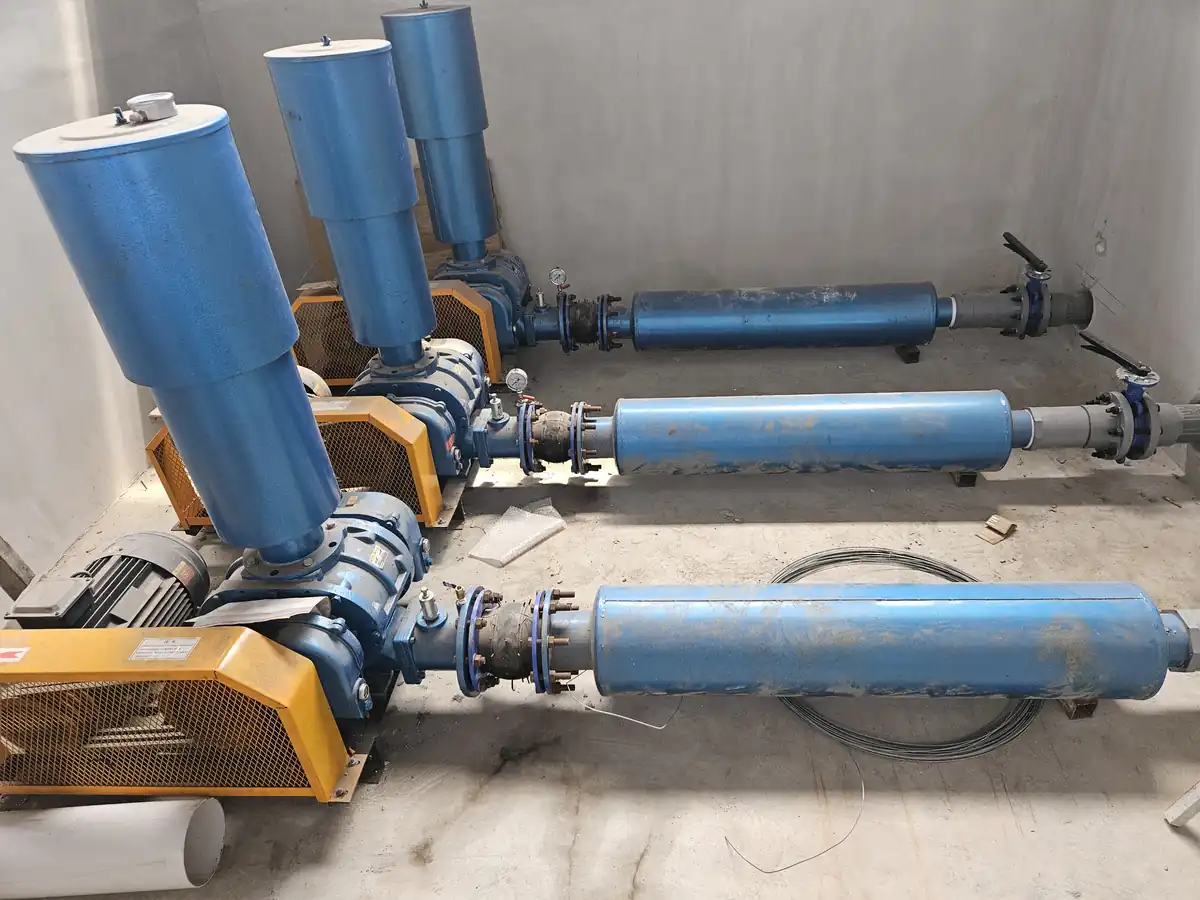
1. Piping must be tightly connected with no air leaks, and supported with brackets at suitable positions.
2. Pipe material must withstand the discharge temperature and pressure (preferably steel pipe).
3. Keep the inside of the piping clean and free of foreign objects.
4. Install a check valve on the piping to prevent high-pressure gas flowing back into the blower due to reverse rotation, which could destroy it. Note: the check valve must be installed on a horizontal section of pipe.
5. When several blowers run in parallel, each branch pipe must have a gate valve (so one blower can be isolated for maintenance).
6. Fit a bleeder (venting) valve on the piping to prevent starting under load — the blower should start unloaded, then the bleeder valve is gradually closed. When stopping after loaded operation, open the bleeder valve first to confirm the blower is unloaded, then shut it down.
Checks before starting
1. Check that anchor bolts and connections are secure.
2. Remove weld slag and other foreign matter from the piping.
3. Valves must be fully open, otherwise the blower runs overloaded and can be damaged.
4. Check and top up the gear oil. Gear oil is filled at the factory — check the oil level in the gearbox. With the machine stopped, fill to the centre of the oil sight glass; do not overfill, or oil will leak.
5. Grease the bearings. During normal operation, grease once or twice a week depending on actual conditions.
6. Check the tightness of the narrow V-belts and pulley alignment. Pulley alignment can be corrected with a straightedge. Belt tension should be adjusted according to the reference table; belts loosen after use and must be re-tensioned.
7. Check that the power supply voltage and frequency match the motor nameplate.
8. Check the pulley rotation direction — viewed from the pulley end, rotation must match the direction arrow.
9. Turn the pulley by hand before starting; if nothing is abnormal, start the blower.
Operating notes
1. During initial running, the viscous lubricant may cause higher noise and current; this disappears after 10–20 minutes of operation.
2. Air flow can be regulated by changing the blower speed or by adding/removing overflow piping.
3. Noise varies between units of the same model, depending on the position in the machine room and the piping arrangement.
4. The blower must operate within the pressure range stated on the nameplate in the manual.
Reading the pressure gauge
The pressure gauge connects to the blower piping through a manifold cock. The gauge is suitable for measuring pressures of media that do not corrode steel and copper alloys. When measuring steady pressure, do not exceed 3/4 of the gauge's upper limit; when measuring fluctuating pressure, do not exceed 2/3 of the upper limit. Gauges in service must be checked regularly, at least once every three months.
The gauge is suitable for ambient temperatures of −40 °C to +60 °C and relative humidity not exceeding 80%. The gauge connection and the measuring point should be at the same level.
While the blower is running, the gauge cock must be in the closed position; cut open the rubber vent cap on top of the gauge before use. Open the cock only when measuring pressure, and close it again after measurement. A buffer structure is included to reduce the effect of impact, vibration and rapid changes in the measured medium.
Packaging: wooden case.
FAQ
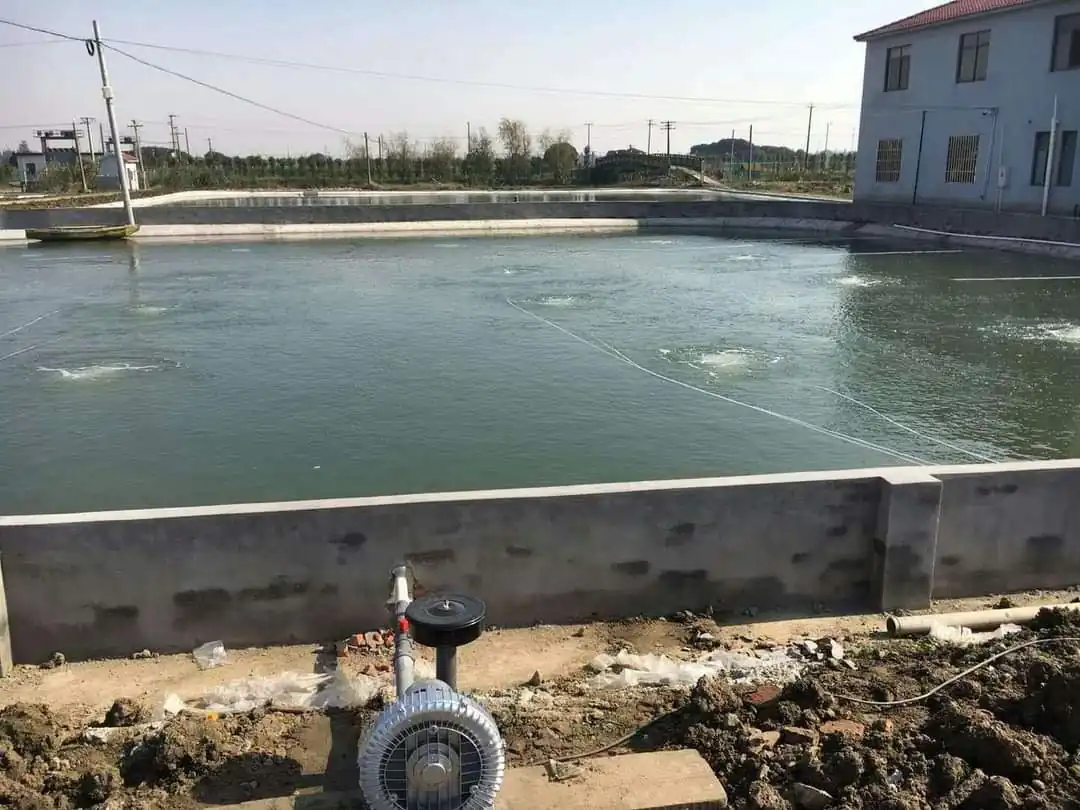
Q: What is a three-lobe roots blower used for in aquaculture? A: It supplies pressurised air to a diffused grid on the pond floor. The blower sits on shore and pushes air through a manifold and air line to microporous tubes or discs, where demand is highest. The machine never enters the water, so it carries no leakage risk in the pond.
Q: What size roots blower does a 1-acre pond need? A: Start from the airflow, not the power. Budget roughly 0.9-1 kW of blower per acre with 90-120 m of tubing for a pond 1-2 m deep, then confirm pressure: the machine must hold that airflow at your pond depth plus 15-20% headroom. The standard range covers 0.4-136+ m3/min at 9.8-58.8 kPa, so airflow selects the model.
Q: Why does the blower have to start unloaded? A: A positive-displacement blower started against full discharge pressure draws a heavy overload, and with units in parallel it can force air backwards through a stopped machine. The bleeder valve lets it come up to speed unloaded, then closes gradually. On shutdown the order reverses: open the bleeder, confirm the machine is unloaded, then stop it.
Q: How often should the gear oil and bearings be checked? A: Gear oil is filled at the factory — check the sight glass with the machine stopped and top up to the centre, since overfilling causes leaks. Grease the bearings once or twice a week. The pressure gauge is the other recurring item: check gauges in service at least every three months.
Q: Why does a new blower run louder in the first 20 minutes? A: It is the viscous lubricant warming up, not a fault: higher noise and current are normal and disappear after 10-20 minutes. If it does not settle, check belt tension and pulley alignment first.
Q: Can two blowers run in parallel on one pond? A: Yes, and it is common on larger ponds. Each branch pipe then needs its own gate valve so one blower can be serviced while the others keep running, and the set should be sized so the remaining units still carry the pond with one out of service.